Pixlr and Canva are my preferred (and very good) editing softwares. I use Pixlr to edit images, such as removing the background from them to make them transparent, and I use Canva to organise my pages professionally. Canva ensures that my pages are the right size, making them look like an actual magazine.
From my own research I found that a plain background is commonly used in K-Pop magazines as the cover pages are generally full of images and writing, so a background is not necessary. I like this idea however I also want to use David Carson's artistic techniques to keep my pages modern, so I plan not to completely fill my page but still have the necessary and relevant information on it.
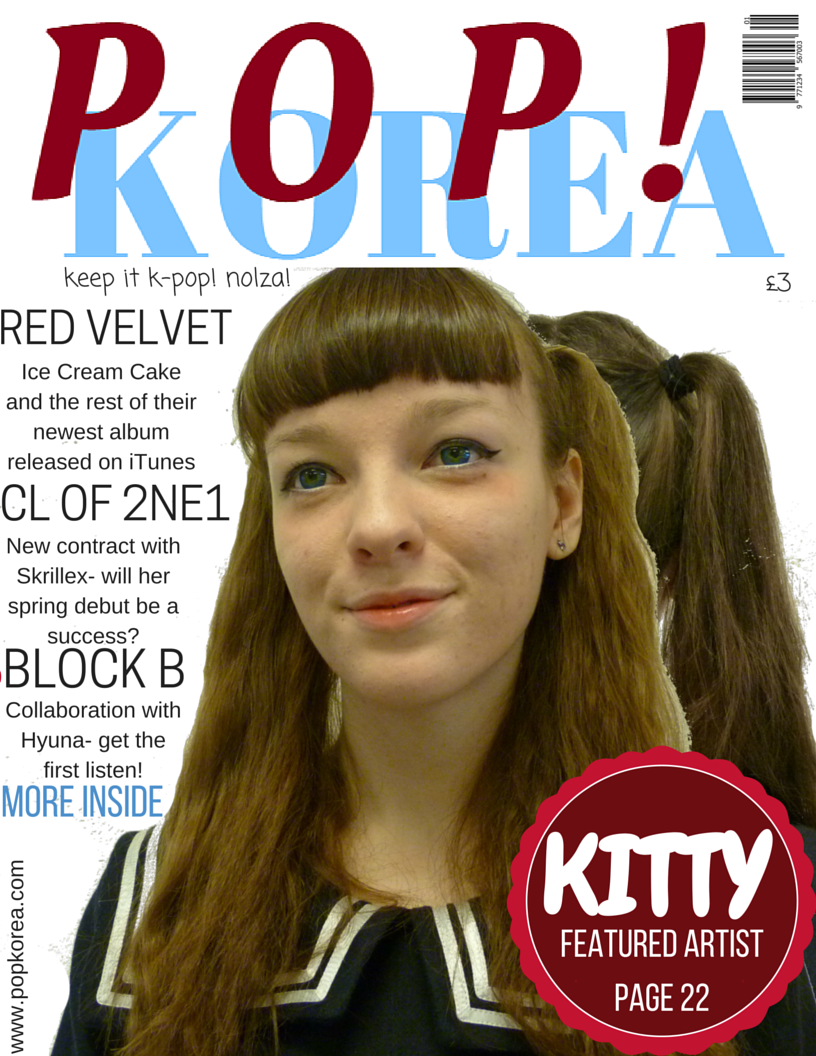
First I changed the colour tone of my title slightly. This is because I have already made my double page spread and made a colour scheme from there that would be different to the title's colour. Another convention I have seen on existing magazines is changing the title colour to match the artist's colour scheme; in my case, dark pinks are my artist Kitty's colours. (Top image is the version I will be using).
Then I edited my chosen images on Pixlr, The quality of them is already very clear so all I needed to do was remove the background. I decided to create a 'mirror' effect by having the back of Kitty's head behind her profile, as she is a solo artist but I needed her to fill the page. It also shows off her trendy hairstyle, as she is an icon in the music industry and her style is important.
Left is where I attempted to join the images together on Pixlr. This was mostly unsuccessful as they look separated and fuzzy. I instead chose to keep them separate and joined the images together on Canva, which looks smoother.
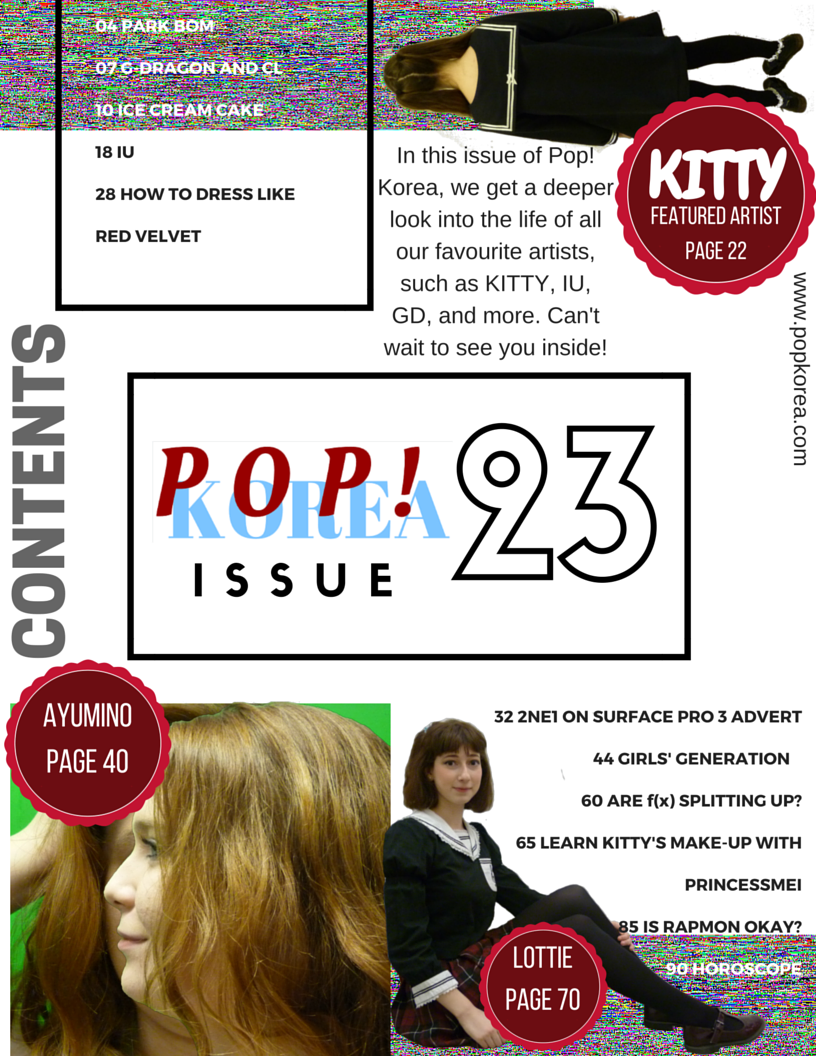
Using my prototypes I will begin the front cover:
The main image takes up the majority of the page, obviously showing my artist. The masthead is quite big too so the potential readers can recognise it easily. Now I will add coverlines. I didn't include coverlines in my prototypes because I hadn't thought of any at the time and the layout was my priority, but now I know the image I am using I can add them where I think they will best fit and where will be most effective. Also on my prototypes I left space for a tagline; these are used to sum up the magazine simply and are typically placed under the masthead. I need to think of this and place it somewhere that will be noticeable to my readers; possibly next to the date and price (below left from the masthead).

I have added coverlines to the left side of the page advertising artists with parts of the magazine that readers will want to see. I kept them all in the same format so my magazine has a house style and they are all a uniform colour and font. I tried to shape them around the main image to keep the focus on the main image but the font size was big enough that the audience will still see it. On the bottom right corner I added a bubble shape that audience feedback liked to advertise the main feature artist. The bubble is attached to the main image so the audience knows who it is referencing. It uses the same font and colours as is used on the double page spread so that my audience will link the two. The audience's attention is grabbed by the bubble and the clear link between the bubble and masthead makes the whole magazine eye catching if it were on a shelf.

This is the final outcome of my cover page for my music magazine. I put the barcode in the upper right hand corner as it is out of the way but fills a blank space. The colour scheme is continued with the use of light blue linked between the title and "More Inside", and the dark pinks for the title and bubble. These are attractive and catch the attention of potential readers because the rest of the page is made up of mostly grey shades. I filled up most of the cover with my main image as Kitty is the featured artist of the magazine so it made sense to make her the largest part of the page. I included a short tagline below the title the show the individuality of the magazine and make it obvious what genre it belongs to. The website for my magazine is in the bottom left corner going up the side so it is discreet but readers will see it and know there is more to it online. The price of my magazine is £3 because my audience stated this was the better price and more affordable.